
4x8 Indoor Putting Green DIY Plans
Hopeful Horizon 4x8 Indoor Putting Green DIY Plans
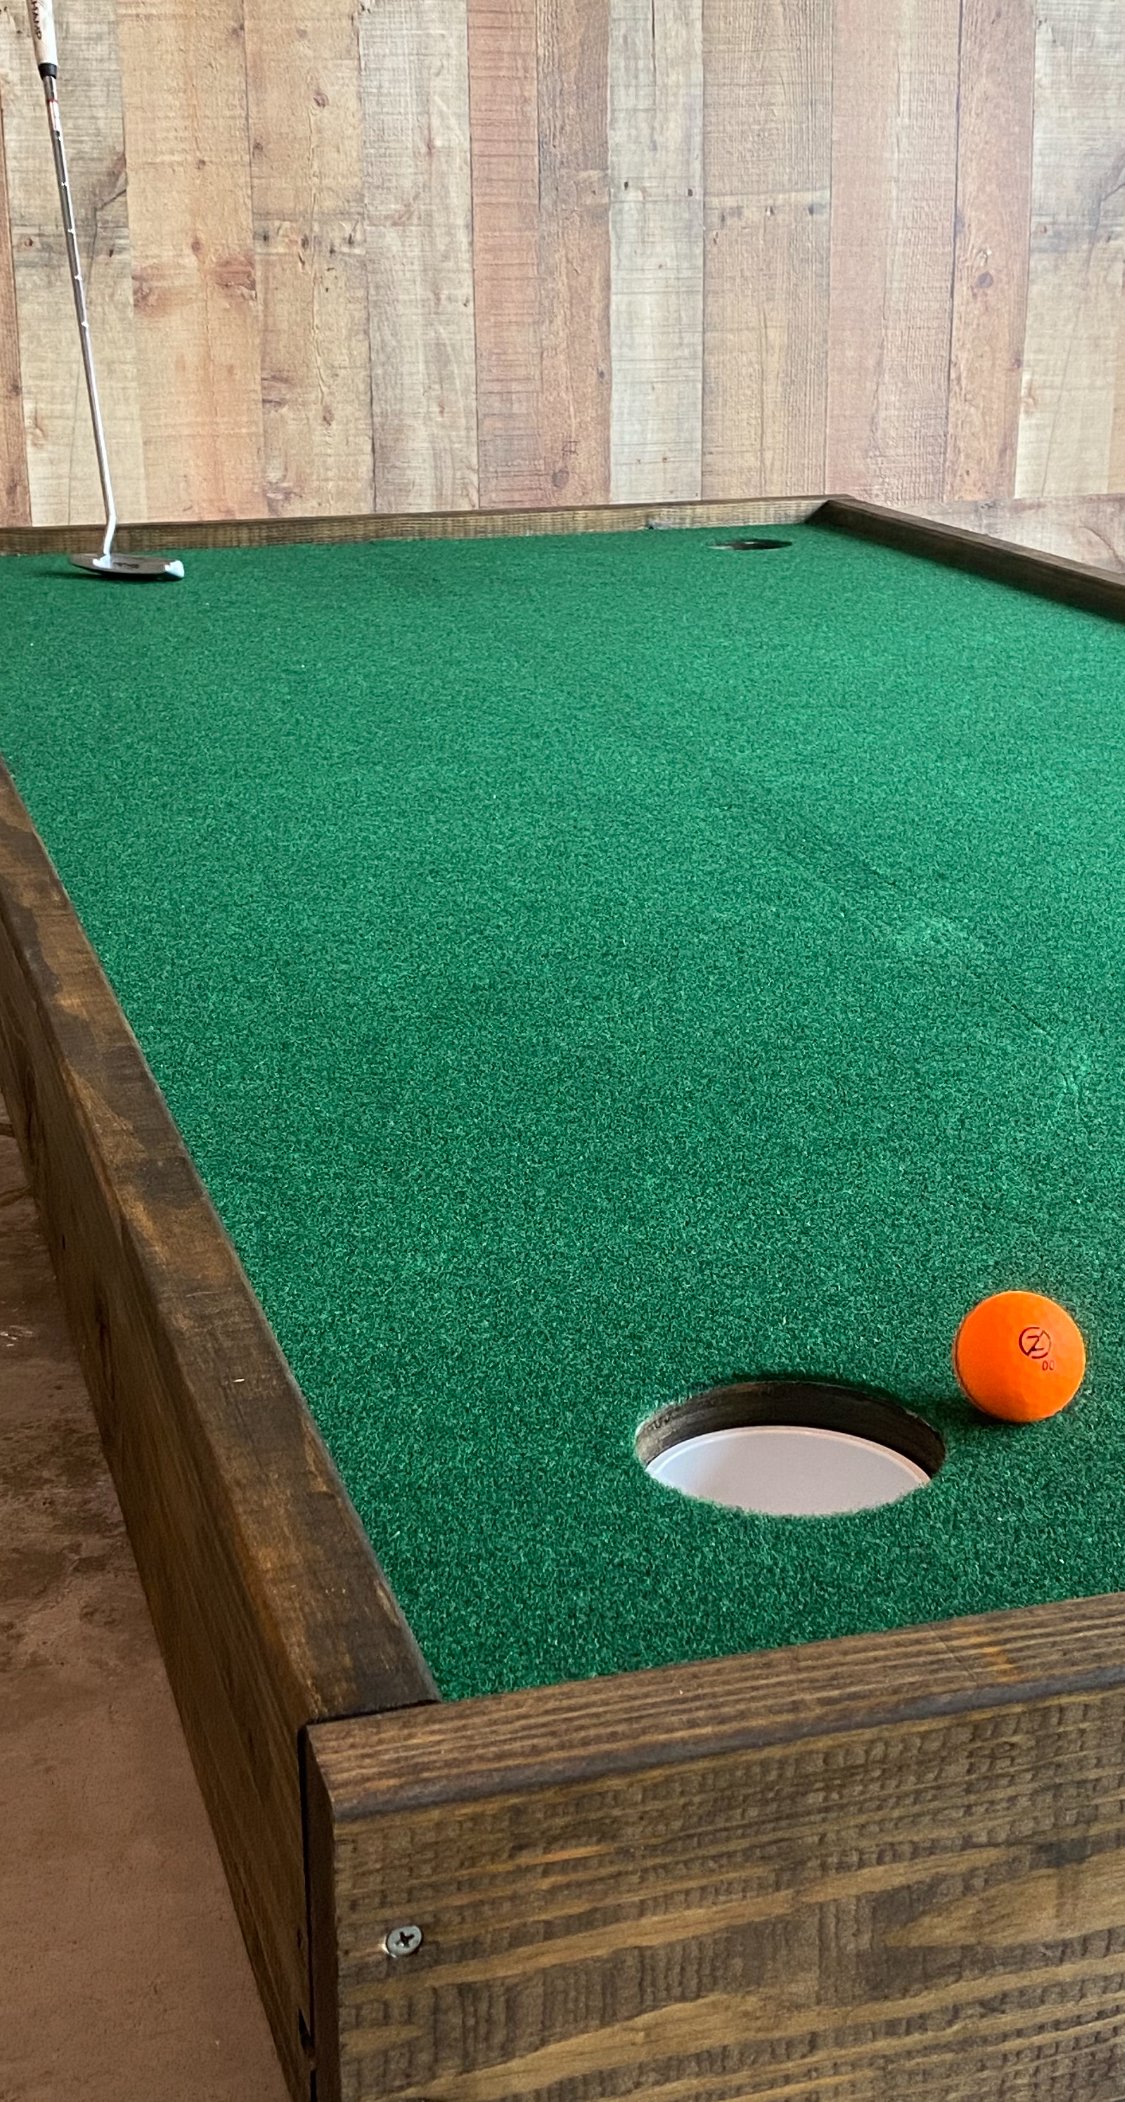
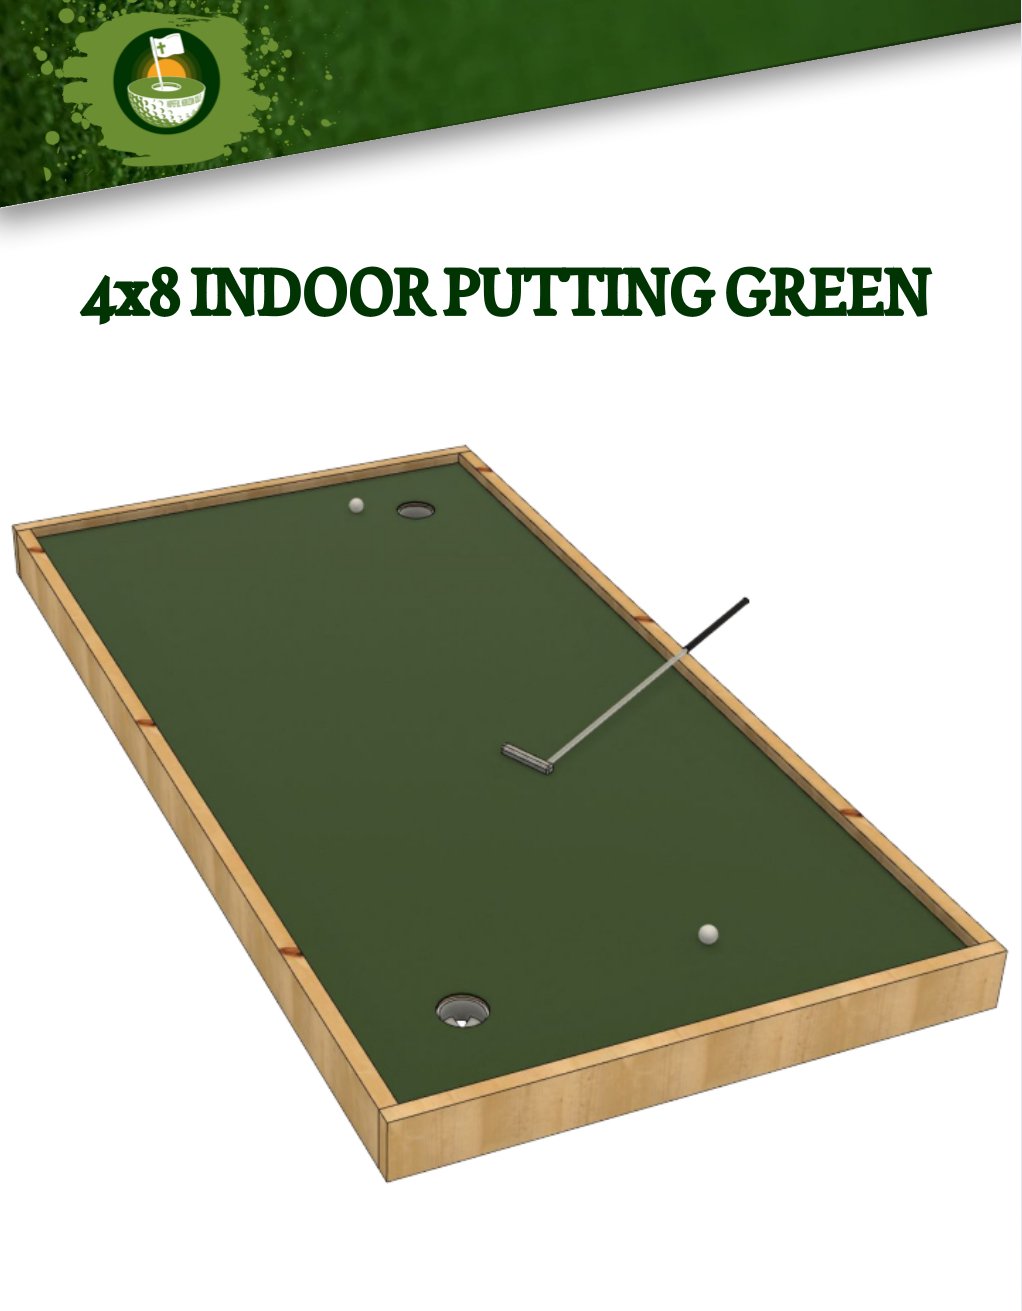
Our easy-to-follow guide offers a rewarding DIY experience for building a compact, professional-grade putting green. Perfect for indoor spaces, this plan provides the steps to create a versatile practice area that is budget-friendly and tailored to golf enthusiasts of all skill levels.
Project Overview
Build a 4x8 putting green with straightforward instructions, using tools and materials that can be sourced from any hardware store.
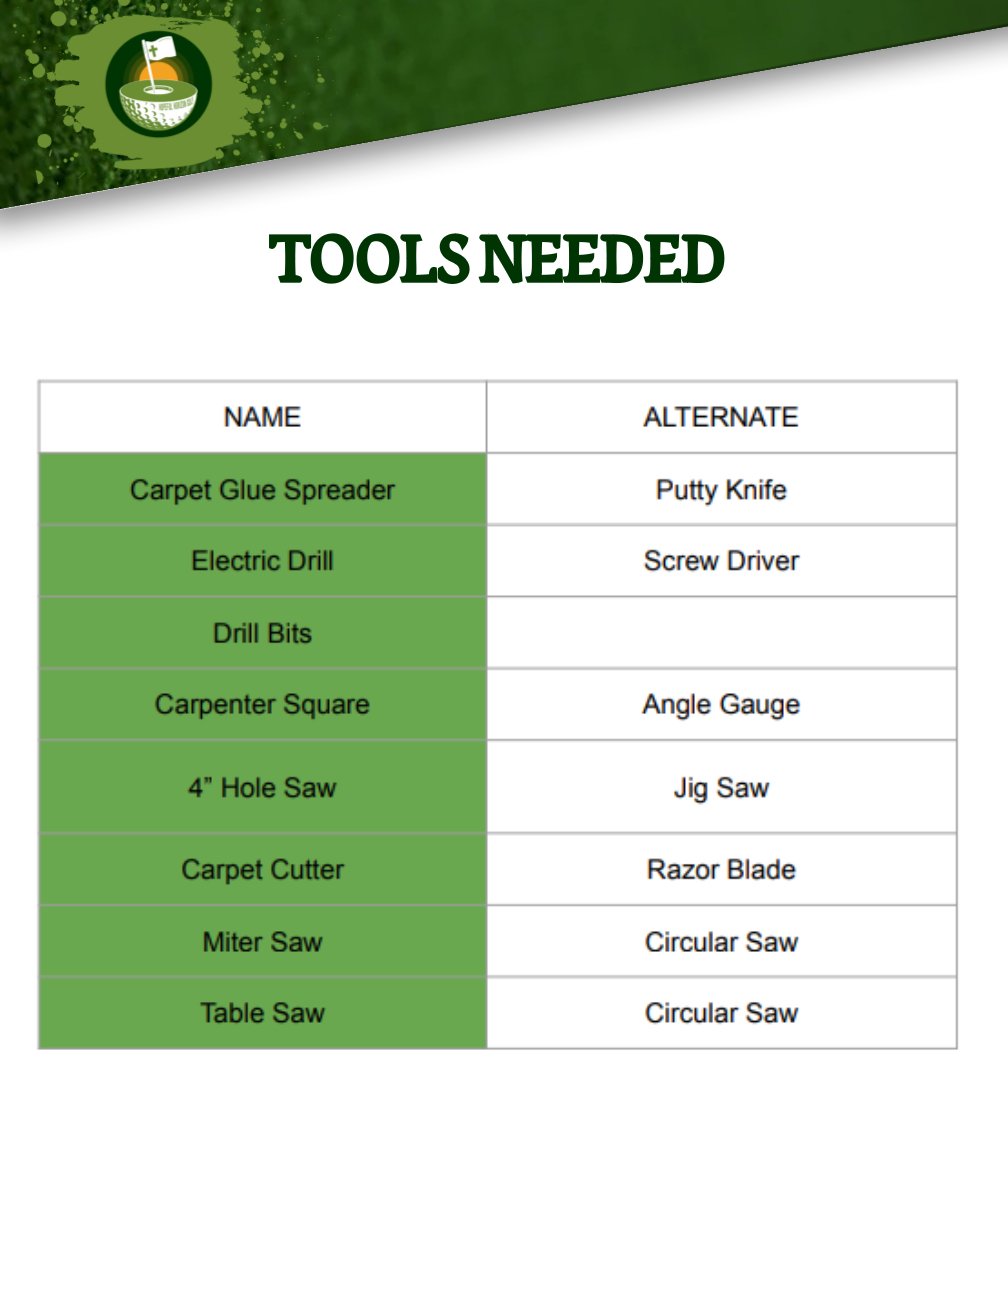
Tools Needed
Circular Saw: For cutting the main boards to size.
Table Saw (Optional): Helps achieve finer cuts but is not essential.
Jigsaw or Hole Saw: To cut holes for putting.
Drill & Drill Bits: For assembly and securing parts.
Carpet Glue Spreader or Putty Knife: To apply adhesive evenly.
Materials & Parts List
Each item in the parts list is carefully selected for quality and ease of assembly, ensuring durability and functionality for consistent putting practice. Detailed measurements and material specifications are included in the plan.
Step-by-Step Instructions
Cutting Instructions
Measurements are provided for all cuts, detailing each board size to simplify the cutting process.
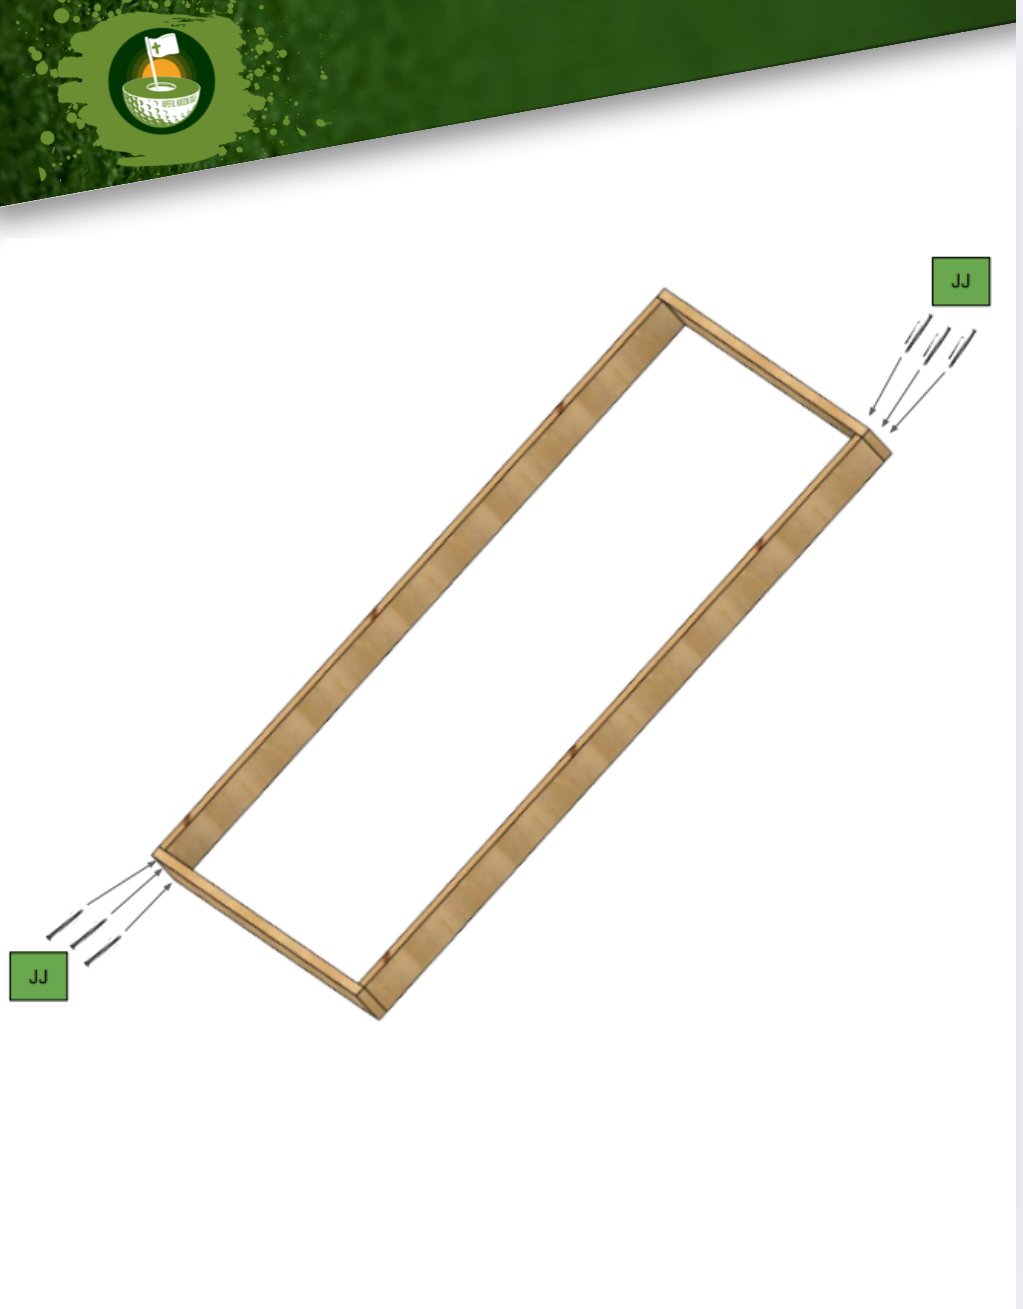
Assembly Instructions
Follow the guided sequence to construct a sturdy frame, add putting holes, and apply the green material, with tips for alignment and adhesion.
Finishing Touches
Complete your green with optional elements to enhance aesthetics and usability.
This design enables a custom indoor putting setup, emphasizing ease, quality, and accessibility. Gather your tools and get started on your golf practice journey right from home with Hopeful Horizon DIY plans!
Hopeful Horizon 4x8 Indoor Putting Green DIY Plans
Our easy-to-follow guide offers a rewarding DIY experience for building a compact, professional-grade putting green. Perfect for indoor spaces, this plan provides the steps to create a versatile practice area that is budget-friendly and tailored to golf enthusiasts of all skill levels.
Project Overview
Build a 4x8 putting green with straightforward instructions, using tools and materials that can be sourced from any hardware store.
Tools Needed
Circular Saw: For cutting the main boards to size.
Table Saw (Optional): Helps achieve finer cuts but is not essential.
Jigsaw or Hole Saw: To cut holes for putting.
Drill & Drill Bits: For assembly and securing parts.
Carpet Glue Spreader or Putty Knife: To apply adhesive evenly.
Materials & Parts List
Each item in the parts list is carefully selected for quality and ease of assembly, ensuring durability and functionality for consistent putting practice. Detailed measurements and material specifications are included in the plan.
Step-by-Step Instructions
Cutting Instructions
Measurements are provided for all cuts, detailing each board size to simplify the cutting process.
Assembly Instructions
Follow the guided sequence to construct a sturdy frame, add putting holes, and apply the green material, with tips for alignment and adhesion.
Finishing Touches
Complete your green with optional elements to enhance aesthetics and usability.
This design enables a custom indoor putting setup, emphasizing ease, quality, and accessibility. Gather your tools and get started on your golf practice journey right from home with Hopeful Horizon DIY plans!